
Xcode|为 App 添加更换 Icon 图标的功能
理解如何在 Xcode 为 iOS App 增加更换图标功能,为你的 App 进一步提升吸引力。
在 Xcode 中进行配置
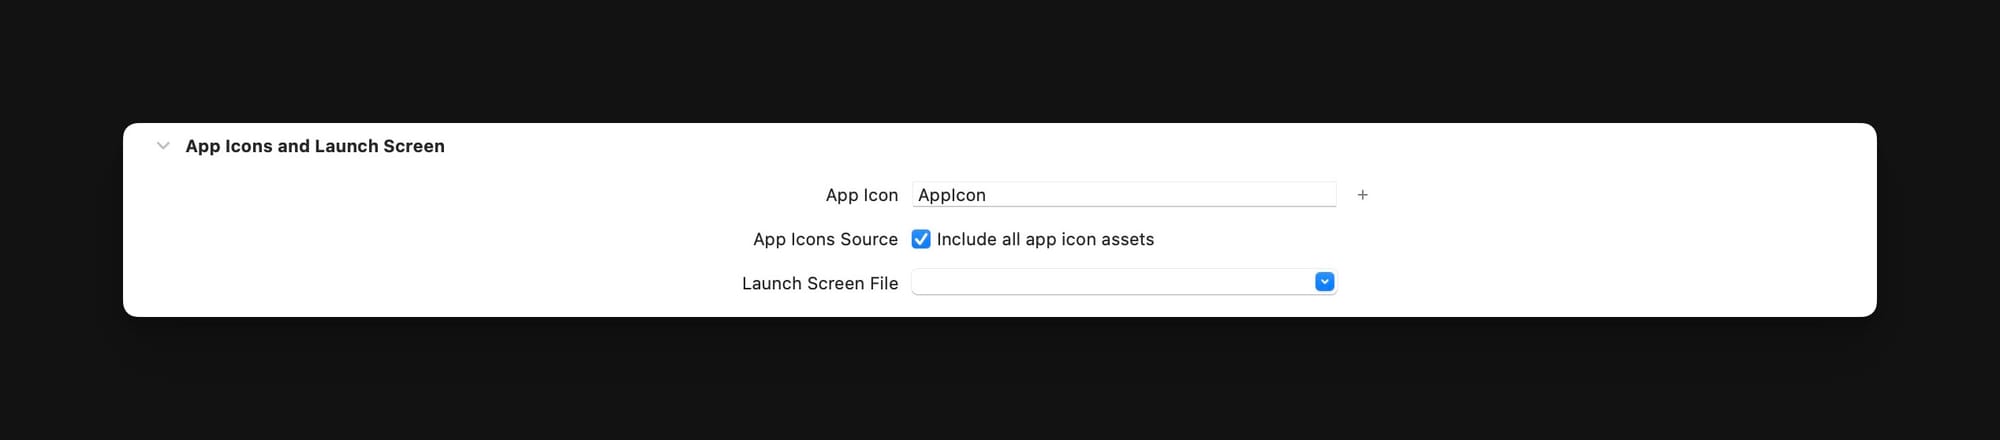
启用 Include all app icon assets 选项
在 WWDC21 之前,你需要手动在 Info.plist 中填写所有备用图标的名称。
从 Xcode 13 开始,可以通过在 Xcode 中启用 Include all app icon assets,在编译时可以自动添加到 Info.plist。
添加备用图标文件
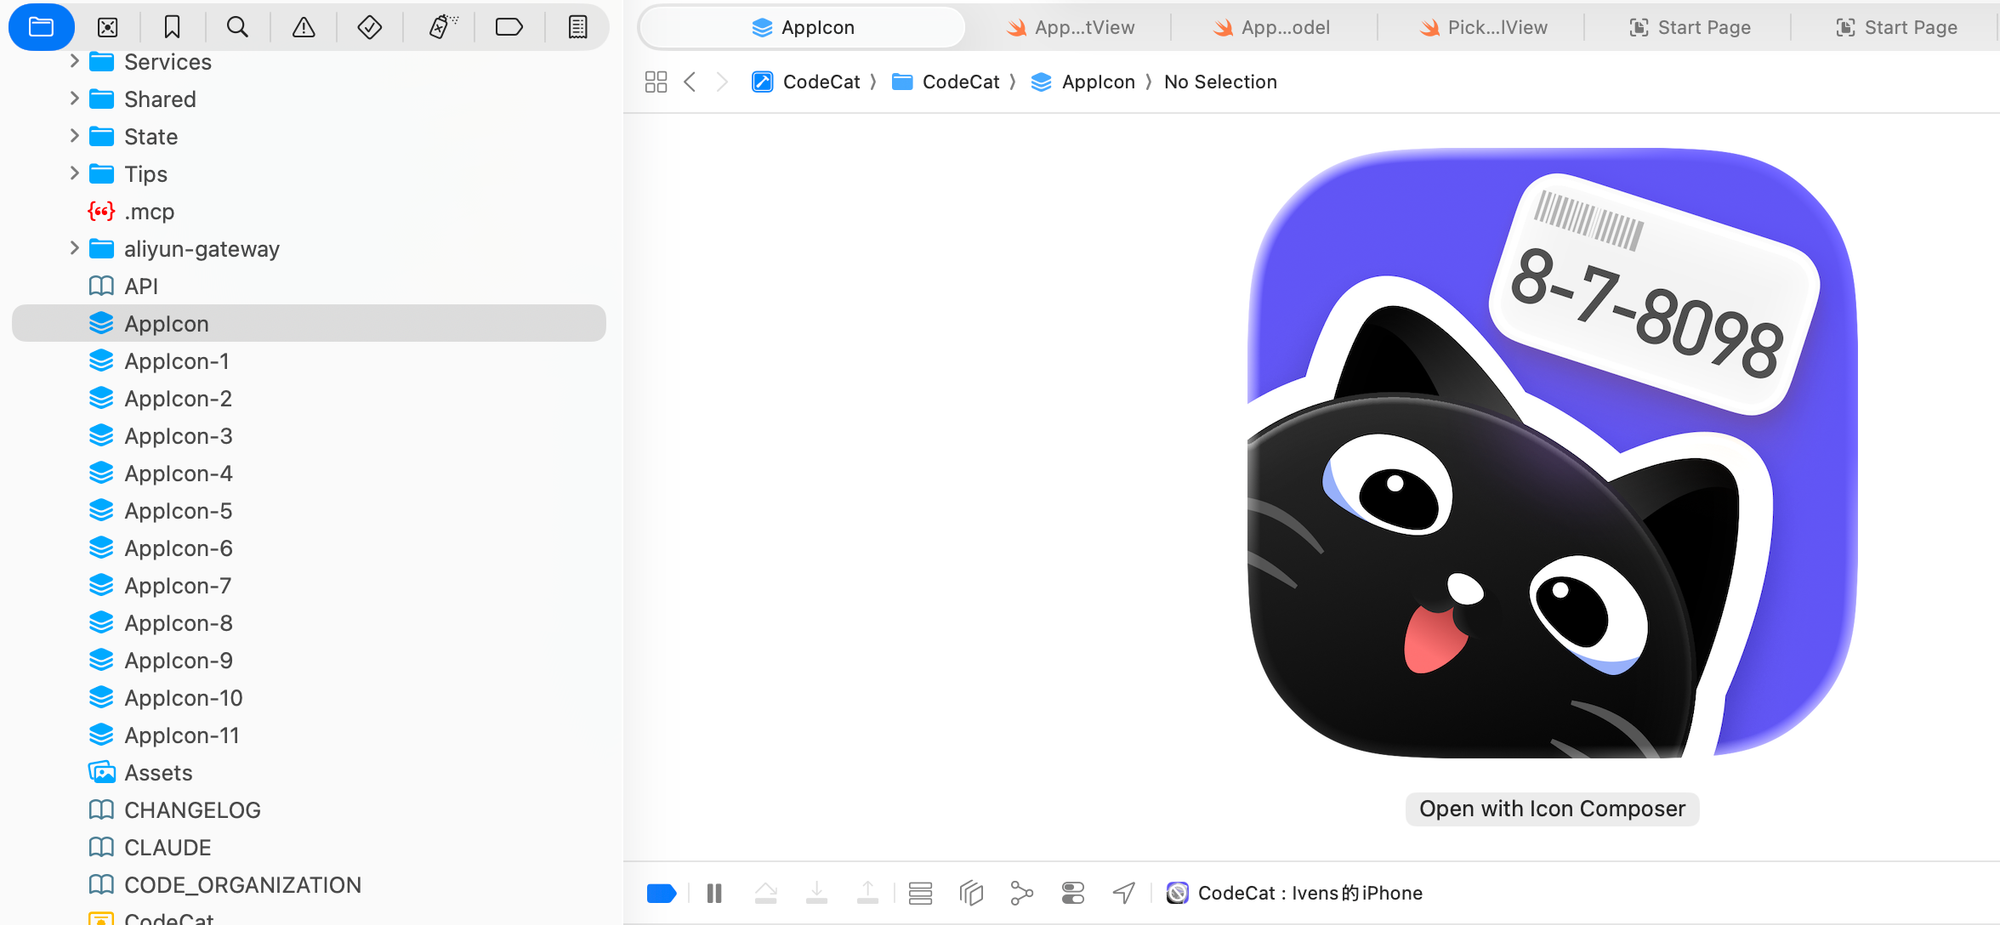
从 Xcode 26 开始,苹果推荐使用新的 Icon Composer 文件(.icns),而不再使用之前在 Assets 这种添加的图标文件。
图标同样必须以 AppIcon 命名,可以直接添加到 Xcode 项目根路径。
仍然需要格外为每个图标添加一个 Preview 文件。
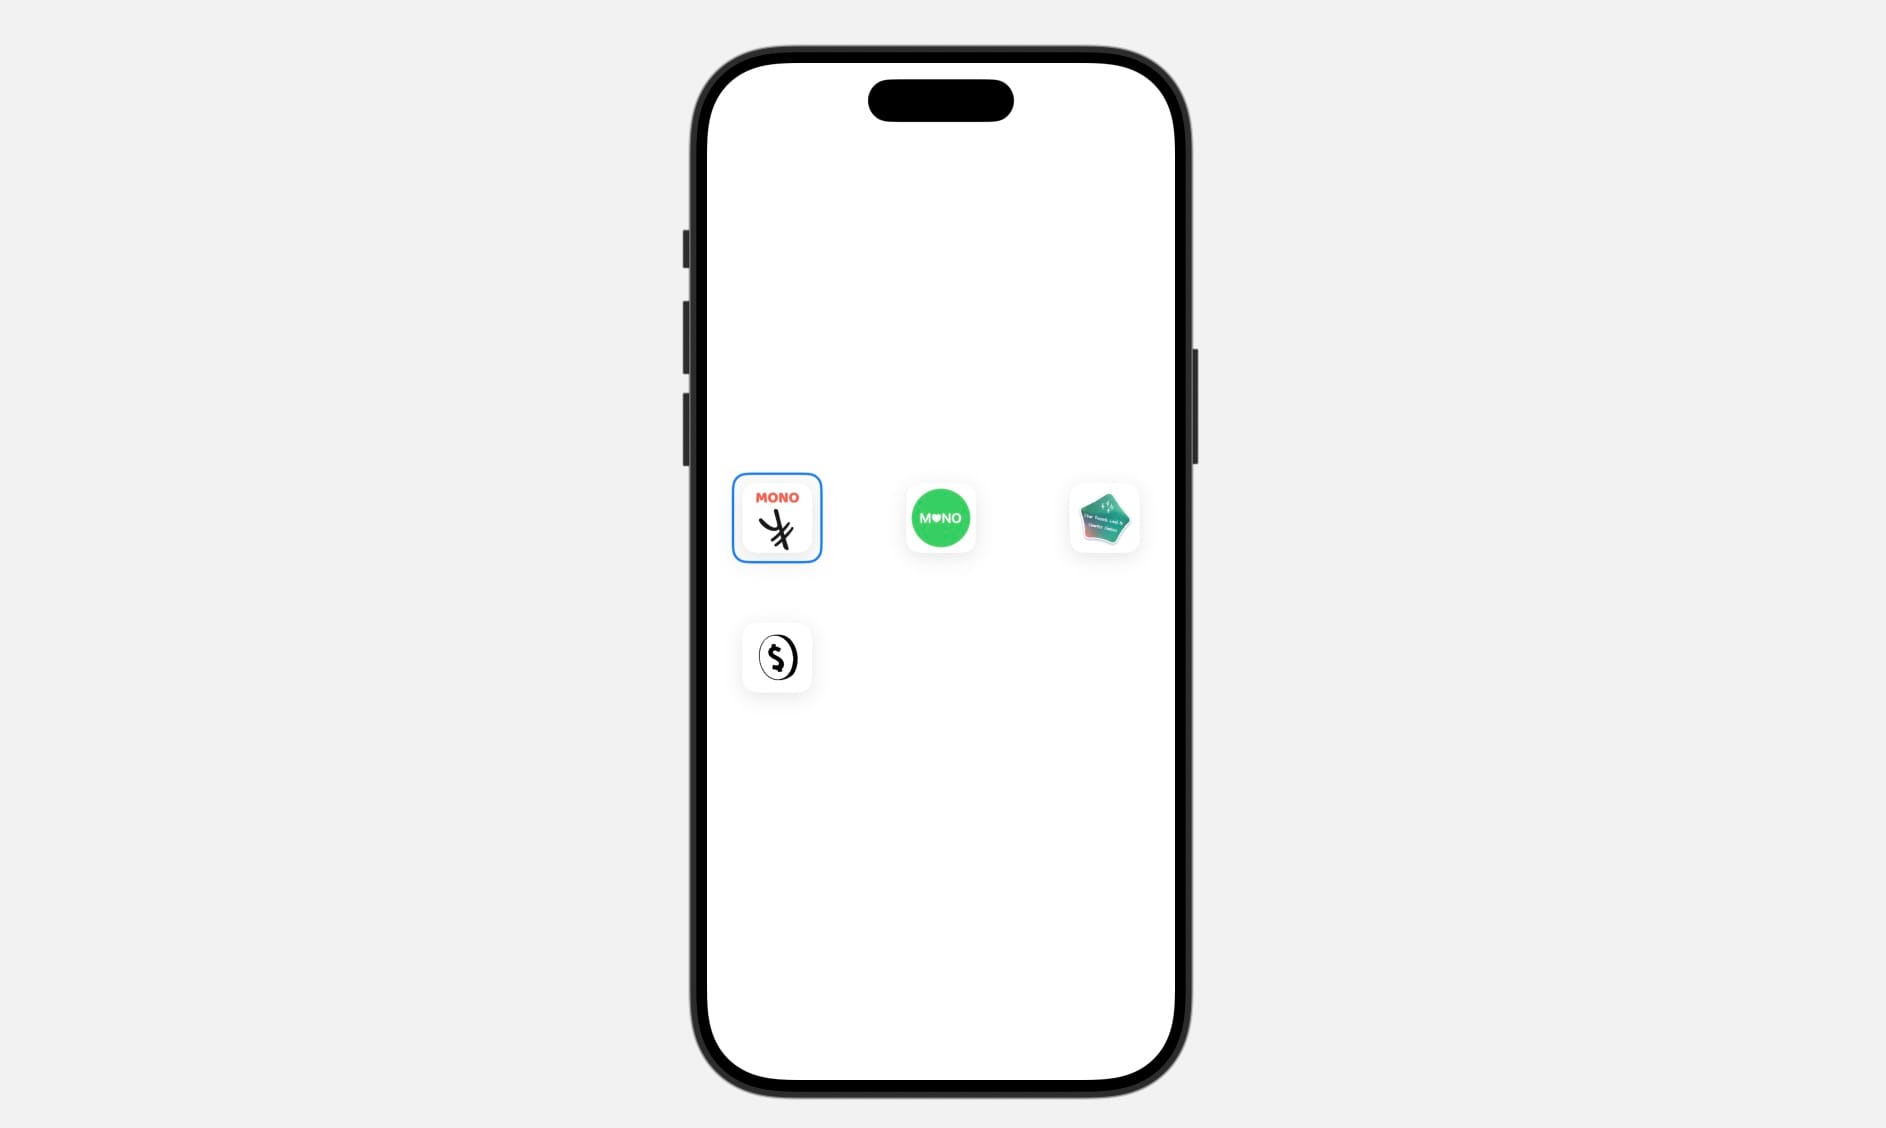
创建图标选择视图组件
核心是通过调用 UIApplication.shared.setAlternateIconName(name) 组件,iOS 系统即可自动完成图标的切换。
以下组件创建了一个基于 Grid 布局的图标切换视图:
import Observation
import SwiftUI

@Observable
final class AppInfoProvider {
    private static func getValue<Value>(for key: String) -> Value {
        guard
            let value = Bundle.main.infoDictionary?[key] as? Value
        else {
            fatalError("Missing value for \(key) in Info.plist")
        }
        return value
    }

    private static func getPrimaryAppIconName() -> String {
        let appIconsDict: [String: [String: Any]] = getValue(
            for: "CFBundleIcons")
        let primaryIconDict = appIconsDict["CFBundlePrimaryIcon"]

        guard
            let primaryIconName = primaryIconDict?["CFBundleIconName"]
                as? String
        else {
            fatalError("Missing primary icon name")
        }

        return primaryIconName
    }

    private static func getAlternateAppIconNames() -> [String] {
        let appIconsDict: [String: [String: Any]] = getValue(
            for: "CFBundleIcons")
        let alternateIconsDict =
            appIconsDict["CFBundleAlternateIcons"]
            as? [String: [String: String]]

        var alternateAppIconNames = [String]()
        alternateIconsDict?.forEach { _, value in
            if let alternateIconName = value["CFBundleIconName"] {
                alternateAppIconNames.append(alternateIconName)
            }
        }

        return alternateAppIconNames
    }

    let bundleDisplayName: String
    let bundleVersion: String
    let bundleShortVersionString: String
    let primaryAppIconName: String
    let alternateAppIconNames: [String]

    init() {
        bundleDisplayName = Self.getValue(for: "CFBundleDisplayName")
        bundleVersion = Self.getValue(for: "CFBundleVersion")
        bundleShortVersionString = Self.getValue(
            for: "CFBundleShortVersionString")
        primaryAppIconName = Self.getPrimaryAppIconName()
        alternateAppIconNames = Self.getAlternateAppIconNames()
    }
}

struct AppIconSettingsView: View {
    @State private var appInfoProvider = AppInfoProvider()
    @State private var selectedIcon: String?
    @State private var showErrorAlert = false
    @State private var errorMessage = ""

    // 定义网格列:自适应宽度,最小宽度为 100 点
    private let columns = [
        GridItem(.adaptive(minimum: 100), spacing: 20),
        GridItem(.adaptive(minimum: 100), spacing: 20),
        GridItem(.adaptive(minimum: 100), spacing: 20),
    ]

    var body: some View {
        LazyVGrid(columns: columns, spacing: 20) {
            iconGridItem(name: appInfoProvider.primaryAppIconName)

            ForEach(appInfoProvider.alternateAppIconNames, id: \.self) {
                iconName in
                iconGridItem(name: iconName)
            }
        }
        .alert("更换图标失败", isPresented: $showErrorAlert) {
            Button("确定", role: .cancel) {}
        } message: {
            Text(errorMessage)
        }
        .onAppear {
            selectedIcon = UIApplication.shared.alternateIconName
        }
    }

    // 网格项的视图:包含图标、名称和选中边框
    private func iconGridItem(name: String) -> some View {
        VStack(spacing: 8) {
            Button(action: {
                changeAppIcon(to: name)
                #if os(iOS)
                    UIImpactFeedbackGenerator(style: .light).impactOccurred()
                #endif
            }) {
                ZStack {
                    if name
                        == (selectedIcon ?? appInfoProvider.primaryAppIconName)
                    {
                        RoundedRectangle(cornerRadius: 12)
                            .stroke(Color.accentColor, lineWidth: 2)
                            .frame(width: 76, height: 76)
                    }

                    Image(uiImage: UIImage(named: name) ?? UIImage())
                        .resizable()
                        .aspectRatio(contentMode: .fit)
                        .frame(width: 60, height: 60)
                        .cornerRadius(60 * 0.205)
                }
            }
            .buttonStyle(BorderlessButtonStyle())  // 防止 List 的点击效果影响按钮
            .frame(width: 76, height: 76)
        }
        .frame(width: 100, height: 100)
        // 第一层阴影 - 整体柔和的阴影
        .shadow(
            color: .black.opacity(0.1),
            radius: 8,
            x: 0,
            y: 4
        )

    }

    // 更改应用图标的函数
    private func changeAppIcon(to iconName: String) {
        let name =
            iconName == appInfoProvider.primaryAppIconName ? nil : iconName
        selectedIcon = name

        UIApplication.shared.setAlternateIconName(name) { error in
            if let error = error {
                DispatchQueue.main.async {
                    selectedIcon = UIApplication.shared.alternateIconName
                    errorMessage = error.localizedDescription
                    showErrorAlert = true
                }
            }
        }
    }
}

#Preview {
    NavigationStack {
        AppIconSettingsView()
    }
}
使用 PersonalizationSettingsView 组件
我已经创建一个通用的 PersonalizationSettingsView 组件,包含图标切换、强调色切换、ColorScheme 以及字体。
此处,记录如何使用它们。
自定义 ColorScheme 和强调色
首先,在 App 文件中添加以下变量
// 用于获取颜色模式
@AppStorage("appTheme") private var appearance: Appearance = .system
// 用于获取强调色
@AppStorage("accentColor") private var accentColor: String = "pink"

private var colorScheme: ColorScheme? {
    switch appearance {
    case .system: return nil
    case .light: return .light
    case .dark: return .dark
    }
}

private var actualAccentColor: Color {
    AccentColorSettingsView.AccentColor.getColor(from: accentColor)
}
在 App文件的 ContentView 中,添加以下修饰器:
WindowGroup {
    ContentView()
      .preferredColorScheme(colorScheme)
      .tint(actualAccentColor)  // 使用计算属性
}


Comments ()